
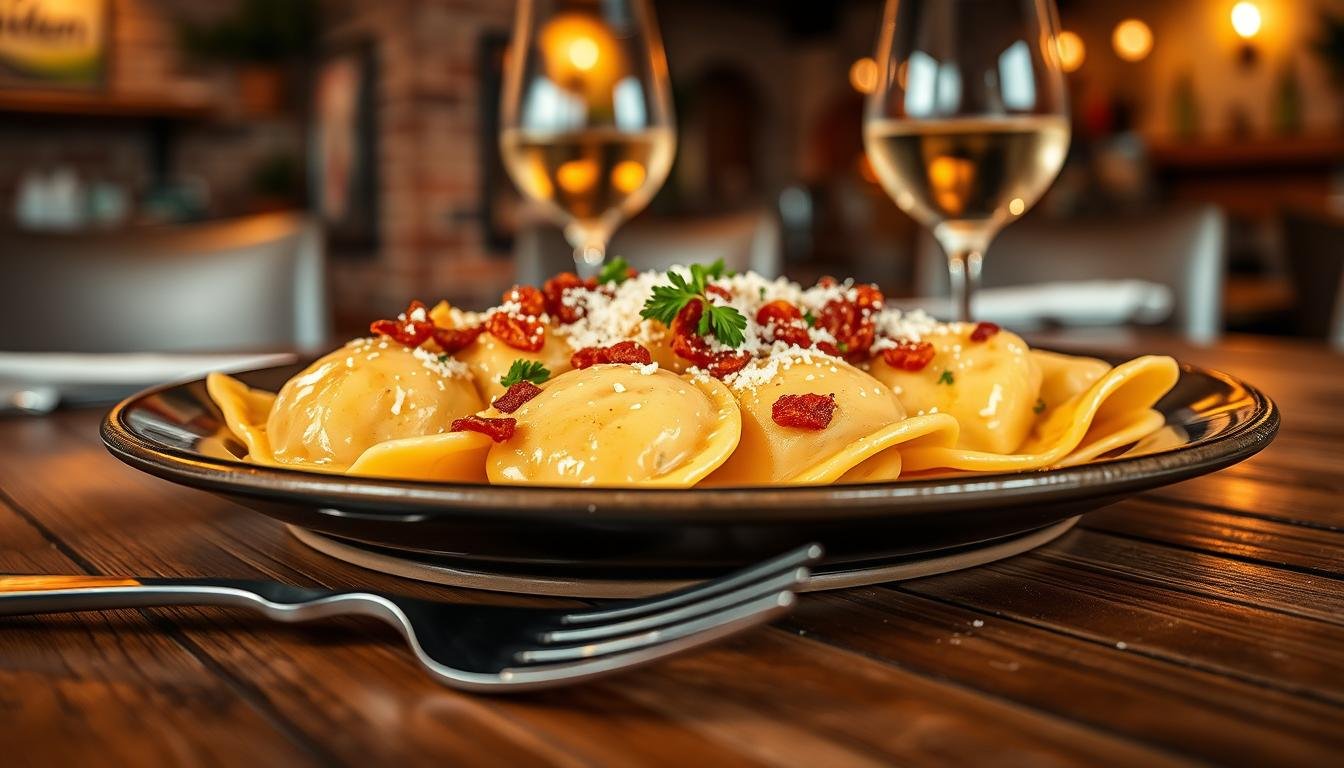
Can a simple weeknight dinner match a beloved restaurant classic? I asked myself that the first time I set out to recreate the famous ravioli carbonara olive garden menu favorite in my own kitchen.
I’m thrilled to share my method for making this indulgent dish at home. Using tender cheese-filled pasta, a silky sauce, and smoky bacon, I show how pantry staples become a restaurant-quality meal.
My step-by-step recipe keeps the filling creamy and the pasta perfectly tender. I focus on simple techniques and high-quality ingredients so you can enjoy a gourmet experience without a reservation.
Key Takeaways
- I reveal how to recreate the olive garden ravioli experience at home with easy steps.
- High-quality cheese and smoky bacon lift the flavor to restaurant level.
- The sauce stays velvety when you follow timing and temperature tips.
- This ravioli carbonara recipe is simple enough for a weeknight meal.
- Small techniques make each bite indulgent and comforting.
Why You Will Love This Ravioli Carbonara Olive Garden Copycat
Weeknight dinners get a lift with this rich, creamy pasta that comes together fast. I designed this version to capture the cozy comfort of the restaurant favorite while keeping the method simple and practical.
The Comfort Factor
Comfort food is about warmth and ease. This dish blends tender pasta with a trio of cheeses that Patterson Watkins praises for creating a very tasty cheese sauce. The result is soothing, cheesy, and satisfying.
Why Homemade is Better
Homemade lets you control quality. You pick the bacon, the cheese, and the seasoning. You also save time: the sauce takes less than 10 minutes, and the whole recipe finishes in under 30 minutes.
“Making your own sauce often beats anything in a jar.”
- Fresher ingredients mean brighter flavor.
- Crispy bacon plus tender pasta adds great texture.
- This dish works well for busy evenings and family meals.
Understanding the Carbonara Style Sauce
What wears the carbonara name here is really a luscious cream-and-cheese bake, not a Roman classic.
Patterson Watkins makes an important point: the Olive Garden version contains no eggs or yolks. That means it is not a traditional carbonara but an Italian-inspired, baked Alfredo-style comfort food.
- This sauce relies on heavy cream and melted cheese for richness rather than beaten eggs.
- A roux-based cream mixture thickens the blend so the sauce coats every piece of pasta perfectly.
- The result is a gooey, bacon-forward mouthfeel that feels indulgent and easy to replicate at home.
I emphasize that the garden ravioli carbonara is an inspired take, not a strict recipe from Rome. Focusing on cream and cheese helps you match the restaurant flavor without risk of curdling. In short, this dish proves a deviation from tradition can still be a delicious, satisfying carbonara recipe for weeknight meals.
Essential Ingredients for Your Pasta Dish
Start by gathering the few high-impact ingredients that make this copycat dish sing. Having everything ready saves time and keeps the sauce silky.
Choose fresh blocks of cheese over pre-shredded varieties. Grated-from-block Parmesan and mozzarella melt cleanly and avoid starchy clumps.
Choosing the Right Cheese
The recipe calls for a three-cheese blend: mozzarella, Parmesan, and Asiago. I use 1 cup of Parmesan and 1/2 cup of mozzarella to balance sharpness and melt.
- 20 oz cheese ravioli — serves as the hearty base.
- Thick-sliced bacon — for texture and smoky flavor, not pre-crumbled bits.
- 1 cup heavy cream — this makes the sauce luxuriously smooth.
- Extra cup of cheese — reserve for topping and broiling to a golden crust.
I always measure and prep ahead. This small habit keeps the cook time under 30 minutes and the final dish consistent every time.
Preparing Your Kitchen and Ingredients

Set up your station before the water boils. Preheat the oven to broil-high and spray a 9×13 baking dish with nonstick spray so you won’t scramble at the end.
I cook bacon in a large skillet over medium heat until it’s brown and crisp. This usually takes about 4 minutes. When it’s done, I remove the strips to a paper towel-lined plate and set aside to drain.
Reserve 3 tablespoons of the bacon drippings. I use those drippings later for the breadcrumb topping to add a smoky crunch.
Keep one cup of cream or milk measured and ready to whisk into the roux. Mince the garlic finely; taking the extra minutes ensures the flavor spreads evenly through the pasta and sauce.
Line up all olive garden ravioli ingredients and keep the skillet on the stove. This garden ravioli prep method means you can move quickly from cook bacon to building the sauce without losing time.
- Preheat oven to broil-high and prepare 9×13 dish.
- Cook bacon in a large skillet over medium heat ~4 minutes; set aside.
- Measure 1 cup liquid, mince garlic, and reserve 3 tbsp drippings.
Boiling the Ravioli to Perfection
I use a very large pot so the pasta parcels can move freely and cook evenly. Bring the water to a rolling boil and add 1 tablespoon of salt. This seasons the pasta from the inside out.
Drop the cheese ravioli into the boiling water and cook according package directions. I usually shave off one minute to keep them just al dente — they will finish in the oven.
Reserve a small cup of pasta water before draining. That starchy liquid helps you adjust the sauce texture later and keeps the dish glossy.
- I always use a large pot so the pasta won’t stick.
- Check the parcels in the last few minutes to maintain shape and texture.
- After draining, gently rinse in cool water and set aside until the sauce is ready.
- You can reuse the same skillet you used to cook bacon to begin the sauce, saving time and boosting flavor.
Careful timing keeps the ravioli from getting mushy in the dish. Follow these steps and your garden ravioli will be ready to absorb the creamy carbonara sauce without falling apart.
Mastering the Creamy Sauce Base

The secret to a glossy, restaurant-style sauce is a smooth roux and gentle heat. I start by melting 6 tbsp of butter in a large pot or skillet over medium heat until it bubbles. Then I add minced garlic and cook it for 1 minute, stirring so it becomes fragrant but not browned.
Balancing the Cream and Milk
Next I whisk in 2 tbsp of flour to form a roux. This step creates a stable base that thickens without lumps.
Slowly I pour in 1.5 cups of whipping cream and 1.5 cups of milk, whisking constantly. When the mixture just begins to simmer, I remove it from the heat and set aside the whisk.
I keep a little extra heavy cream on hand in case the sauce tightens while I add cheeses later.
Avoiding Scorched Garlic
Garlic will turn bitter if it browns. To avoid that, I watch the heat level closely and stir often for that one minute of cooking time.
After the sauce is off the heat, I add grated Parmesan cheese and shredded mozzarella. Doing this off heat prevents fat separation and keeps the sauce velvety.
- I usually set aside cooked bacon before building the sauce to preserve its texture.
- Use a large pot or skillet so the sauce mixes evenly and you can reclaim skillet flavor from earlier steps.
- Take your time—these few minutes make a big difference in the final dish.
Combining Pasta and Sauce
I fold the cooked pasta into the sauce with care so the pieces stay intact and glossy. Using a wide skillet over low to medium heat, I add the drained parcels gently to avoid tearing the delicate shells.
With a soft spatula, I turn each piece so the sauce clings evenly. The garlic and bacon flavors meld as the sauce warms, creating that signature, savory finish.
If the sauce looks too thick, I whisk in a splash of reserved pasta water. That starchy cup of water helps emulsify the fat, cream, and cheese until the texture is silky.
I keep the skillet on low heat to maintain warmth without breaking the sauce. When every piece is well coated, I transfer the mixture into the prepared baking dish for the final broil.
- Gently add cooked pasta to avoid breakage.
- Toss until the sauce coats every piece in a glossy layer.
- Add reserved pasta water sparingly to adjust consistency.
- Keep heat low; avoid high heat that can separate the sauce.
Adding the Finishing Touches

I melt 2 tbsp of butter for 20 seconds in the microwave and stir it into 1 cup of breadcrumbs to make a crunchy topping. Then I pour the pasta and sauce mixture into a 9×13 baking dish, spreading it evenly so everything bakes the same.
Next I sprinkle the remaining Parmesan cheese and mozzarella over the top, then scatter the breadcrumb mix for contrast. I place the dish under a hot broiler and watch for just a few minutes so the cheese bubbles and the crumbs turn golden.
Before I serve ravioli, I add crisp bacon bits and a final pinch of chopped parsley or basil for color. If you set aside a small cup of reserved pasta water earlier, use it to loosen any thick spots in the sauce before baking.
- I spread the mixture evenly in the dish for consistent browning.
- The breadcrumb topping adds a smoky crunch that pairs with the bacon.
- Watch the broiler closely—cheese can go from perfect to burnt in minutes.
Serve immediately while the top is crisp and the interior stays creamy. A quick twist of fresh garlic in the skillet before plating adds an extra aromatic note if you like.
Tips for Achieving Restaurant Quality Results
A handful of chef-style moves will lift this recipe from good to spectacular. Small habits around timing, heat, and ingredient prep matter a lot.
Grating Your Own Cheese
I always grate my own Parmesan and mozzarella. Freshly grated cheese melts cleaner because it lacks the cornstarch coating in pre-shredded bags.
Tip: Use a microplane for Parmesan and a box grater for mozzarella for even melting.
Managing Sauce Consistency
If the sauce tightens, add a splash of milk or a couple tablespoons of reserved pasta water. I keep one cup of pasta water ready for adjustments.
Broil the finished dish for 3 to 5 minutes until the top is bubbly and light brown for the best finish.
Preventing Clumpy Sauce
Whisk the flour into the dairy thoroughly before adding cheese. Then add cheese off the heat and keep the skillet on low while stirring.
“Keep heat low when adding cheese to preserve a silky texture.”
- Follow package directions, but remember pasta softens in the hot sauce.
- Watch garlic closely—overcooking makes it bitter.
- Balance fat and flour so the sauce never breaks or separates.
Customizing Your Ravioli Carbonara

You can easily bulk up the dish with extra veg or protein for a heartier plate.
I like adding sautéed spinach, broccoli florets, or mushrooms to bring color and texture. These vegetables cook quickly in the same skillet and keep the sauce bright.
Grilled shrimp or sliced chicken breast is an easy way to boost protein. Cook them separately, then fold into the pasta and sauce so the meat stays juicy.
- I add fresh peas or sun-dried tomatoes for a sweet pop against the creamy base.
- For a vegetarian take, skip the bacon and use smoked paprika or plant-based bacon for that smoky note.
- Swap cheese ravioli for fettuccine or penne if you want a different texture.
- Try a splash of marinara for a tangy twist, or use gluten-free pasta to adapt to dietary needs.
Finish with fresh basil and a grating of parmesan cheese or try provolone for a new flavor. Small swaps keep this recipe flexible and fun.
Storing and Reheating Leftovers
Leftovers can taste just as good as the fresh bake if you store and reheat them correctly. I always let the dish cool to room temperature for about 20 to 30 minutes before packing it away. This prevents condensation and keeps the texture steady.
For short-term storage, place the portions in an airtight container and refrigerate. Store in the fridge for up to 3 days; glass airtight containers work best because they won’t absorb odors.
Freezing Considerations
You can freeze the leftovers in a well-sealed container for up to 2 months. Keep in mind the dairy in the sauce and mozzarella may shift slightly in texture after thawing.
- I always let the dish cool to room temperature before placing it in an airtight container to prevent condensation from ruining the texture.
- When reheating, I add a small splash of milk or cream to the sauce to restore a creamy consistency and loosen the thickened cheese.
- Thaw frozen portions overnight in the fridge, then reheat slowly on the stove for best results to prevent the sauce from breaking due to the dish’s high fat content.
- Check the internal temperature as you reheat to ensure the pasta heats evenly without overcooking the delicate parcels.
- Even after a few days, the flavors of the bacon and cheese continue to meld, making leftovers taste richly satisfying.
Quick reheating tip: Microwave gently in 30‑second bursts with a splash of milk, or warm on the stove over low heat for a few minutes while stirring until hot through.
Conclusion
You can turn pantry staples into a crowd-pleasing, creamy pasta with minimal fuss. I hope this recipe helps you feel confident about making a copy of the Olive Garden favorite at home.
By following the simple steps and tips here, you can master a silky, cheesy ravioli carbonara that rivals many restaurant dishes. Customize ingredients to suit your tastes and make the dish your own.
Thank you for joining me in the kitchen. Enjoy every bite, share these recipes with friends, and know that with practice, a restaurant-quality meal is well within reach.