
Can a simple kitchen trick really recreate the crunchy, seasoned bites you crave from your favorite steak house? I asked myself that as I set out to bring a classic restaurant side to my own table.
I perfected a home method that takes just 45 minutes from start to finish. In my test runs, the results matched the golden crunch and fluffy interior that make the original so memorable.
I love turning that restaurant magic into an easy fries recipe you can make without deep frying equipment. This approach helps you get consistent texture and the savory seasoning profile fans adore.
Follow my clear steps and you’ll enjoy roadhouse steak fries that beat most fast-food options. This recipe is perfect for family dinners or game-day bites.
Key Takeaways
- You can make authentic-tasting steak fries at home in about 45 minutes.
- The method creates a crispy outside and a fluffy inside without a deep fryer.
- This easy fries recipe reproduces the signature seasoning of the original.
- Results are reliable for weeknight meals and entertaining alike.
- I tested and refined the steps so you get consistent, restaurant-style texture.
Why I Love Making Steak Fries Texas Roadhouse Style
Bringing the lively taste of a busy dinner service into my home kitchen is one reason I cook this classic side so often. The energy of a restaurant night lives in every bite, and that feeling makes cooking fun.
I enjoy the control I get over ingredients and seasoning when I make this fries recipe at home. That control lets me match the bold roadhouse steak flavor while keeping the dish fresh and simple to serve.
Mastering this recipe is rewarding:
- I can reproduce the signature roadhouse steak taste without special equipment.
- These steak fries are the comfort food I bring out for friends and family.
- Serving a restaurant-quality side at home is always satisfying and it disappears fast.
Essential Ingredients for Your Homemade Fries
Good ingredients make a huge difference when you want restaurant-quality results at home. I keep this list short so you focus on texture and flavor without fuss.
Selecting the Right Potatoes
Use 4 large russet potatoes, about 2–3 lbs total. I pick firm, unblemished tubers for the best interior fluff and crisp exterior.
I cut them into even wedges so they cook uniformly. This step sets the stage for consistent browning and a great bite.
The Importance of Quality Spices
I mix the seasoning in a large bowl so every wedge gets coated. I measure precisely: 1 teaspoon smoked paprika, 1 teaspoon chili powder, 1 teaspoon garlic powder, and 1/2 teaspoon onion powder.
Then I add 2 tablespoons of olive oil and 1 teaspoon kosher salt. Tossing everything together helps the powder spices cling and form a crisp, savory crust.
- Choose fresh spice jars for stronger aroma and depth.
- Use measured teaspoon amounts to match the texas roadhouse flavor profile.
- These ingredients recreate the familiar texas roadhouse steak seasoning with simple pantry items.
Equipment Needed for Restaurant Quality Results
A few sturdy kitchen tools make the difference between soggy wedges and a golden, crunchy finish.
Large baking sheet: This is the most important item. A roomy sheet lets each piece get air and brown evenly during baking in the oven.
Parchment paper or foil: I line the sheet with paper to prevent sticking and speed cleanup. It also helps the seasoning form a crisp coating.
- Sharp chef’s knife: For uniform cuts that cook at the same rate.
- Clean towel: I pat the potatoes dry with a towel—this small step cuts surface moisture and boosts crunch.
- Large mixing bowl: Toss oil and spices without spills and get even coverage.
“Good tools make a simple recipe perform like one from a restaurant.”
Use these basics and you’ll be set to recreate the texas roadhouse steak style at home with ease.
Preparing Your Russet Potatoes for Maximum Crispiness

Crisp, golden wedges begin with a few careful prep steps that strip away extra starch and moisture. I always start at the sink and treat each tuber deliberately so the final fries bake up crunchy and light.
The Soaking Method
First: I scrub russet potatoes under running cold water to remove dirt, keeping the skin on for added texture and nutrients.
After I cut uniform 1/2-inch potato wedges, I place them in a bowl of ice-cold water. I soak them for 10–15 minutes to pull out surface starch. This short soak makes a big difference in crispness.
Next, I drain the wedges and use a clean towel to pat them completely dry. Removing moisture before adding oil prevents soggy results and helps the seasoning stick to the slices.
- Soak time: 10–15 minutes in cold water.
- Cut size: 1/2-inch potato wedges for even cooking.
- Drying: Pat fully with a towel, then place on paper-lined sheet before seasoning.
“Taking the time to prep properly is the difference between limp sides and restaurant-style crunch.”
Follow these steps and the rest of the recipe will reward you with golden, dependable steak fries that echo the texas roadhouse steak style in texture and flavor.
The Secret to Perfect Seasoning Blends
A small bowl and a few measured powders unlock the roadhouse-style taste I crave.
In a large bowl I combine smoked paprika, garlic powder, chili powder, onion powder, kosher salt, and freshly ground black pepper.
I use 1 teaspoon of each dried spice so the mix is balanced and bold. This is the core of my recipe for authentic-tasting texas roadhouse steak style seasoning.
- Toss the dried potato wedges with a little oil until each piece is evenly coated.
- Add the seasoning to the bowl and shake or stir until every wedge is covered.
- That touch of chili powder adds heat and makes these home-cooked fries stand out.
“Balance the heat from chili powder with the savory pull of garlic to mimic the roadhouse steak flavor.”
Mixing well is key. When every wedge gets equal coverage, you get consistent color, crisping, and the bold taste of texas roadhouse steak at home.
Mastering the Oven Baking Technique

Getting the oven settings right is the single step that turns good wedges into restaurant-quality bites. I always preheat oven to 425°F so the exterior crisps quickly while the interior stays tender.
I arrange the pieces in a single layer on a parchment-lined baking sheet so hot air circulates evenly. Crowding the sheet traps steam and ruins the texture.
The bake minutes I use are 25–30 minutes. I set a timer and flip every tray at the halfway point to promote even browning on both sides.
Using paper on the sheet makes cleanup simple and helps the seasoning crisp instead of sticking. That small step improves release and color.
“Mastering the oven temperature is the secret to getting restaurant quality results when you make this classic roadhouse steak side dish.”
- Preheat oven to 425°F for reliable crunch without burned edges.
- Use a baking sheet in a single layer for even air flow.
- Bake 25–30 minutes and flip halfway through for balanced browning.
How to Use Your Air Fryer for Faster Fries
An air fryer locks in crisp edges quickly, so I can get this recipe on the table fast. I usually preheat air fryer to 400°F before loading the basket. That step sets the high heat needed to form a crunchy crust without extra time.
I arrange the seasoned potatoes in a single layer so hot air circulates evenly. Avoid overcrowding; small batches give better color and a crisp finish than one packed basket.
Cook at air fryer 400 for 15–20 minutes. This is much faster than the oven bake minutes the recipe lists. I shake the basket every 5 minutes instead of flipping; that keeps pieces moving and browning all over.
- Less oil: The fryer needs far less oil than deep frying, yet yields a super crispy texture.
- Quick time: Total cook time is usually 15–20 minutes at air fryer 400.
- Even crisp: Shake the basket regularly and keep a single layer for the best results.
“Using the air fryer gives me a fast roadhouse steak side without heating the whole kitchen.”
Pro Tips for Achieving the Golden Brown Crunch

Consistent cuts, dry surfaces, and hot metal are the trio that creates that ideal golden brown crispy finish. Follow these small pro tips and your home version of the texas roadhouse steak side will crisp up like it does in a busy kitchen.
Uniform Cutting Techniques
I always use a sharp knife to make even wedges. Uniform slices cook at the same rate, so none burn while others stay soft.
- Tip: Cut pieces the same thickness; that single habit improves color and texture.
- Consistent cuts also make seasoning stick evenly across every piece.
Managing Moisture Levels
Managing moisture is the most important pro tip. Pat your potatoes fully dry after soaking to get golden brown crispy edges.
Less surface water means the oil and seasoning can form a crust during baking rather than steaming the pieces.
Avoiding Pan Overcrowding
Place the wedges in a single layer on the baking sheet so steam escapes during baking.
- Use a hot baking sheet to jump-start the crisping process.
- Set a timer for 25 minutes to check doneness; exact minutes vary by oven.
- Right after baking, add a light sprinkle of garlic powder, onion powder, and salt to boost seasoning.
“A hot sheet and single layer are simple pro moves that turn a good recipe into a restaurant-style bite.”
Creative Serving Suggestions for Your Steak Fries
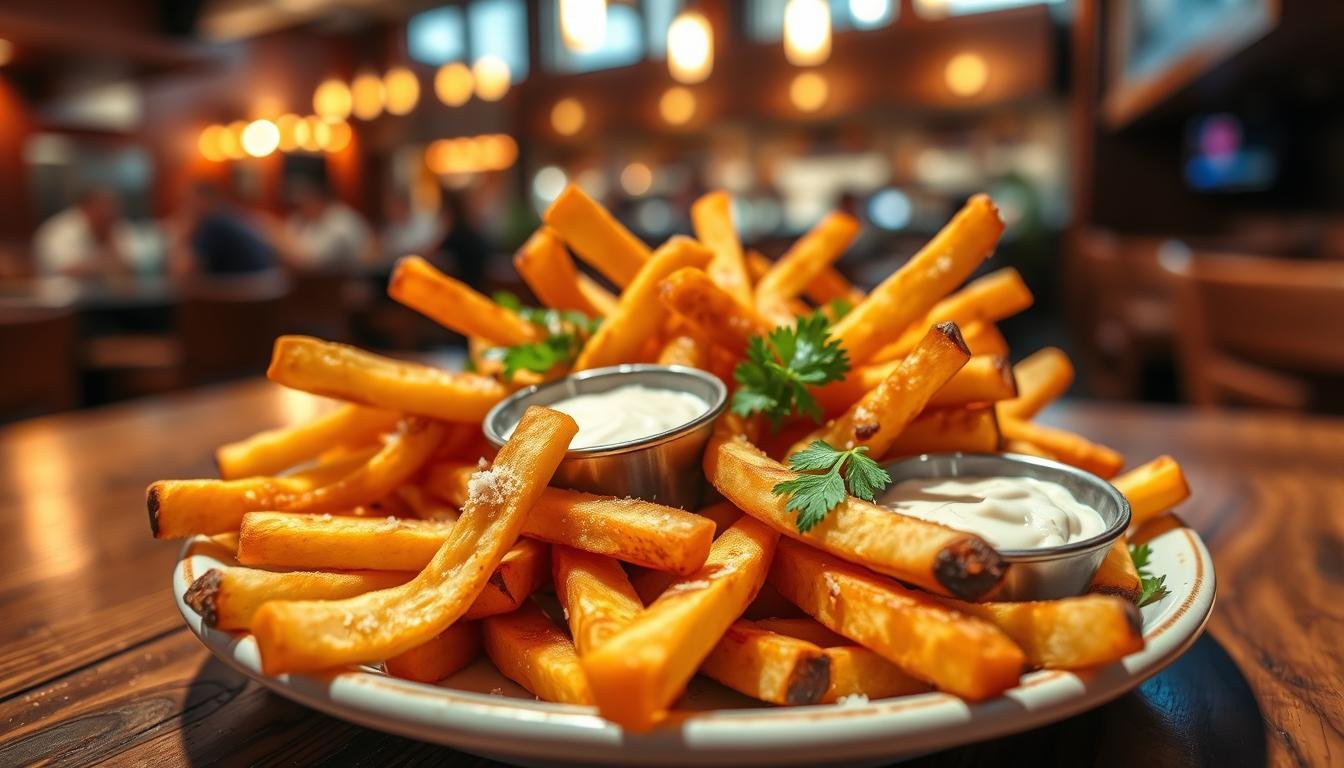
For serving, I like to turn these wedges into a shareable, loaded plate that steals the show.
“Melted cheddar makes a great shortcut to wow the crowd.”
I often pile the warm fries into a large bowl and top them with melted cheddar and crispy bacon bits. The hot cheese binds the pieces into a messy, delicious appetizer everyone digs into.
For a classic dinner, I serve the wedges beside a juicy ribeye to create my own version of a texas roadhouse steak meal.
For game day, I stack the batch on a platter and blanket them with shredded cheddar and extra cheese for shareable snacking.
- Offer dipping sauces—ranch, BBQ, or honey mustard—to enhance the savory seasoning.
- Top a portion with pulled pork or chili and extra cheddar for a filling lunch bowl.
- Let the tray rest 2–3 minutes after baking so the crust firms and the cheese settles.
I sometimes finish with a light sprinkle of garlic powder and onion powder right before serving. That quick touch lifts the flavor and ties these ideas back to the original recipe.
Storage and Reheating Best Practices

I keep leftover batches crisp by using a quick flash-freeze and a clear reheating plan for roadhouse steak fries.
Store cooled pieces in an airtight container in the fridge for up to 3 days. Let them cool completely before sealing to avoid steam and soggy texture.
For best results, reheat in the oven at 400°F or use an air fryer. Heat for about 5–8 minutes to bring back the golden crunch.
Avoid the microwave; it makes the center soft and ruins the crisp exterior. If you need freezer storage, flash-freeze wedges on a baking sheet until firm, then bag them for up to 2 months.
You can cook frozen pieces straight from the bag in the air fryer or oven without thawing. That saves time on busy nights and keeps texture close to restaurant quality.
“A quick flash-freeze and a short reheat restores the best texture in just minutes.”
- Cool fully before storing to prevent extra moisture.
- Reheat 5–8 minutes at 400°F for a crisp finish.
- Finish with a light sprinkle of garlic powder and salt after reheating to refresh seasoning.
Healthy Modifications for Your Potato Dish
You can tweak a couple of steps to get a lower-fat version that still crisps up nicely in the oven.
I cut oil to one tablespoon or use a light cooking spray on the baking sheet. That change trims calories without losing the golden texture.
To reduce sodium I cut the salt in half and add extra garlic powder and onion powder, plus a pinch of chili powder for warmth.
For more fiber and vitamins, swap russet potatoes for sweet potatoes. The dish stays hearty and gains extra nutrients.
- Higher smoke point: I use avocado oil instead of olive oil when I bake at high heat.
- Air flow: Baking on a wire rack helps crisp the pieces naturally, like roadhouse steak fries straight from the oven.
- Diet friendly: This recipe is naturally gluten-free and vegan, so it suits many guests.
“Small swaps—less oil, balanced spices, and better circulation—make this homemade version lighter and still satisfying.”
Conclusion
A crisp, golden batch is only minutes away when you follow the soak, seasoning, and heat routine I use for this fries recipe.
I start with russet potatoes soaked in cold water, then toss each wedge with a teaspoon of oil, garlic powder, chili powder, and salt. Let the seasoning cling and preheat oven so the baking time takes about 25–30 minutes. Arrange potato wedges in a single layer on a sheet or cook in the air fryer for faster results.
These roadhouse steak fries and steak fries recipe variations deliver golden brown crispy results in minutes. Whether you use an oven or an air fryer, you can make texas roadhouse style potatoes at home and serve this dish with confidence.